Project Update -- Antique Sideboard -- 05/21/2015
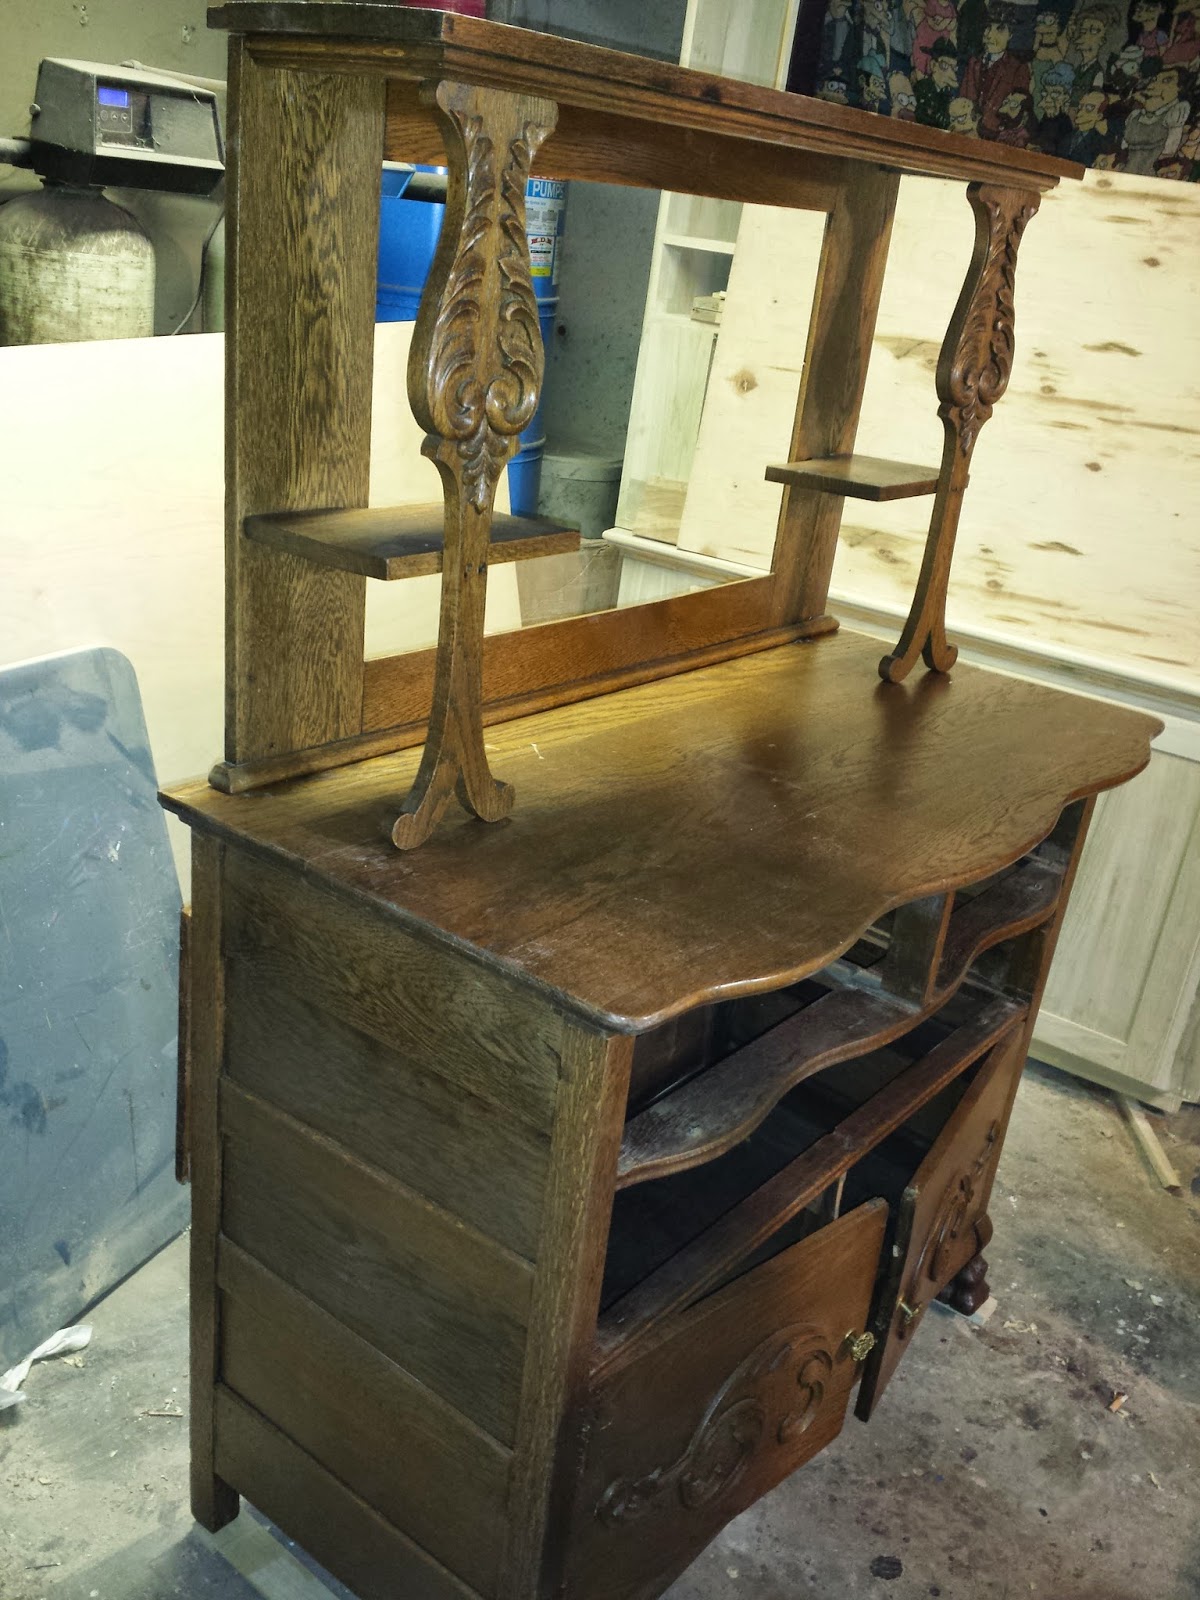
This antique sideboard is in pretty rough shape. It's seen a lot of poorly executed repairs over the years and needs a lot of work. The lady who owns contracted me originally to fix up the outer scars, tighten up the joins and give it a good cleaning. So I started by inventorying the repair work.

Same with this one

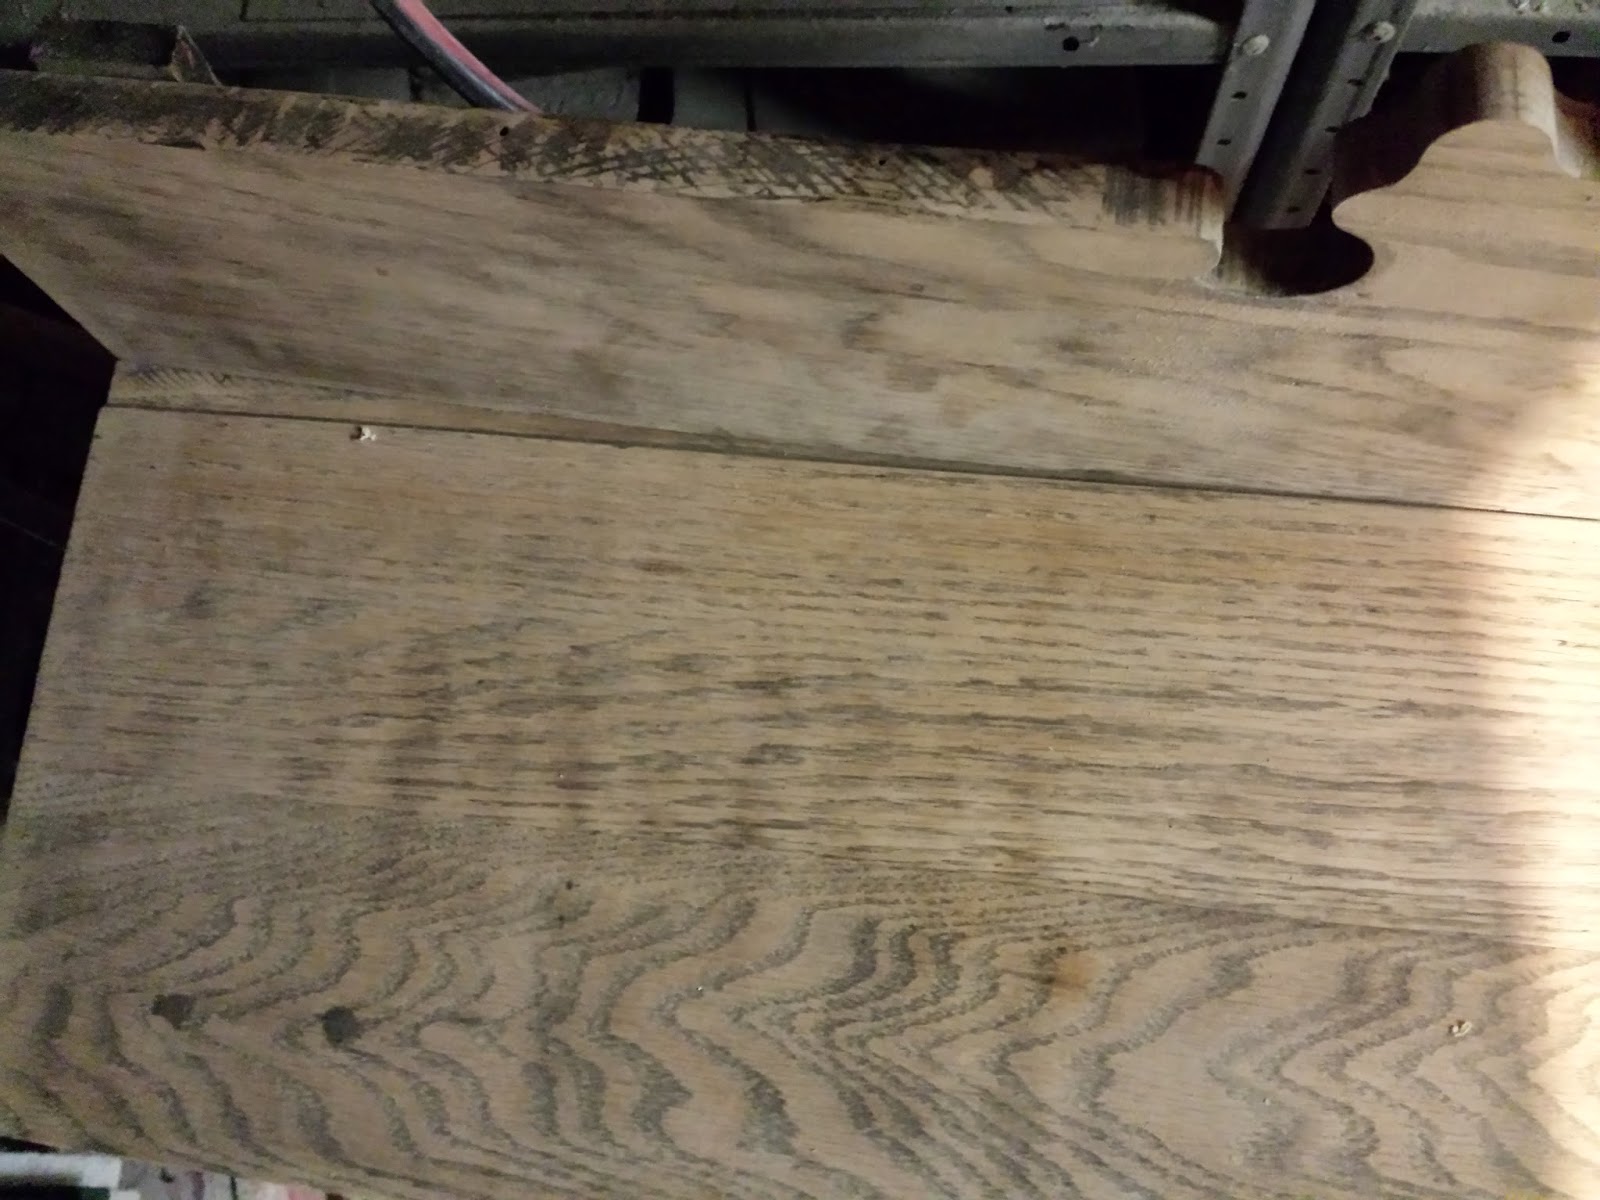
The top was also ruined with screws. These will be a challenge

The center post of the bottom piece was broken, too

This knob was bent


I spoke with the owner over the weekend. NEW PLAN! She has requested a complete refinishing, so now I need to strip this all down to bare wood and get this puppy lookin' spankin!
UPDATE 4/5/2015
 |
| So I started stripping the pieces down to bare wood. This is going to be interesting. The back piece is badly warped. I'm going to try to steam it straight, but I think I'm going to have to use an angle iron to straighten it permanently. The pictures below show how badly it is warped. |
 |
| Here's the left side, about 1/2" warped |
 |
| And the right side is about the same. |
 |
| I started stripping and repairing the top drawers. These are going to be flocked inside with black flocking. |
 |
| Close up of a fix on a big gouge |
 |
| There are beautiful carvings applied to the cabinet doors, the harps supporting the top piece and the back piece. There are several missing pieces and numerous cracks. Despite incredible patience and diligent care, several simply came apart in my hands. Sooooo, I have to put them back together and that is a challenge in itself. See below. |


UPDATE 5/20/2015
Well, it's been a while since I updated this project, but the shop has been full and I've been too busy working on furniture to keep up the blog here. Anyway, this piece is coming along. I've got it stained and varnished and now I'm working on the finishing touches. I've flocked the top two drawers and replaced the keyholes with new brass escutcheons.

Unfortunately, the piece has been warped over the years and the drawer alignment will never be perfect again. I've gotten it as close as I can.

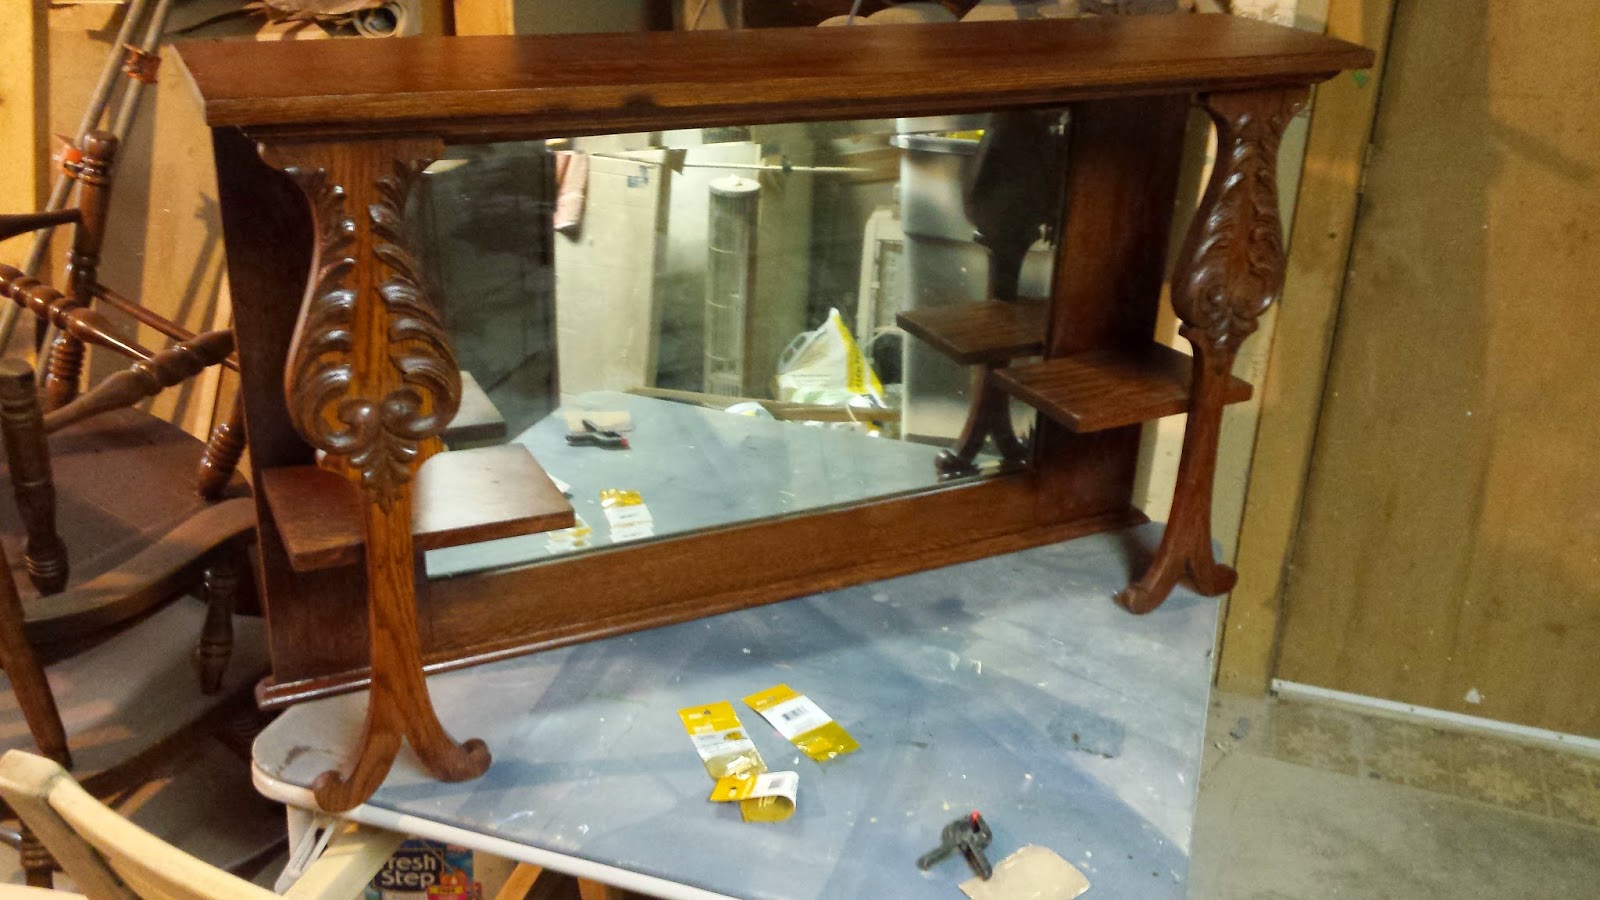
So, I've done a final fitment on all of the pieces. Now I have to reattach the carvings and hardware. Mount the cabinet doors and put the mirror in the back piece. It's getting close. I think the owner is going to be happy with the finished product.

Update 5/23/15 Carvings attached and hardware polished and replaced.


Better late than never. Here are the in situ, finished product. Again I remind you, my skills are with woodworking and not photography.


Comments